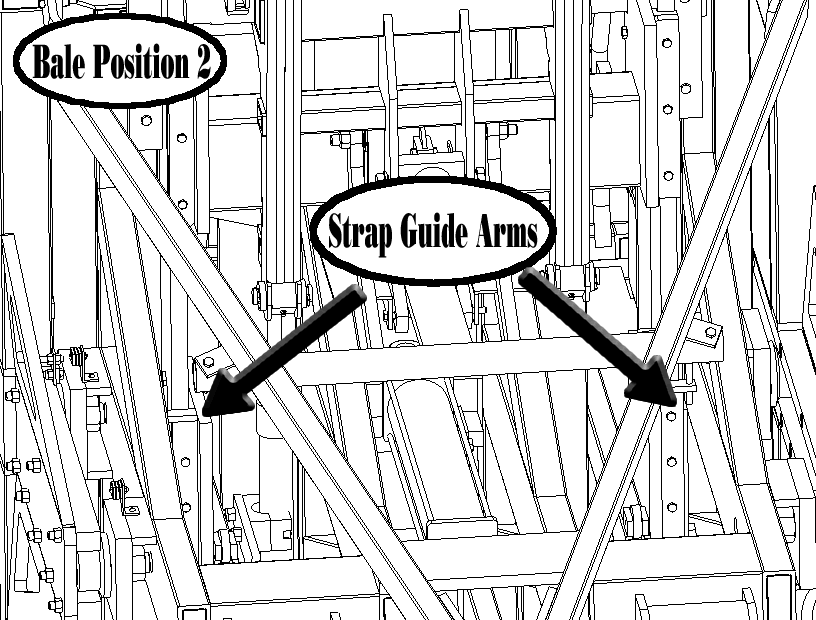
Note: The machine has turned on the Strap Guide Arms motor and sent them down. When the Strap Guide Arms magnet reaches the Bale Position 2 sensor bar switch, the machine stops the motor. The machine is waiting for the magnet to reach the Bale Position 2 sensor bar switch. The switch is located mid way down the sensor bar at the blue mark.
Check position of Strap Guide Arms.
If Strap Guide Arms are on the floor,
– Check how the return line is hooked to the tractor and make sure there is NO BACKPRESSURE. If there is any backpressure at all the Bale Band-It will not operate properly and will continue to release the Strap Guide Arms motor’s brake causing improper location of Strap Guide Arms. Backpressure is the #1 problem with the Strap Guide Arms not being in the proper position. The return line CANNOT be connected directly to the remote or ran through a return kit. It must be connected directly to the tank of the tractor or through the fill cap WITHOUT restriction.
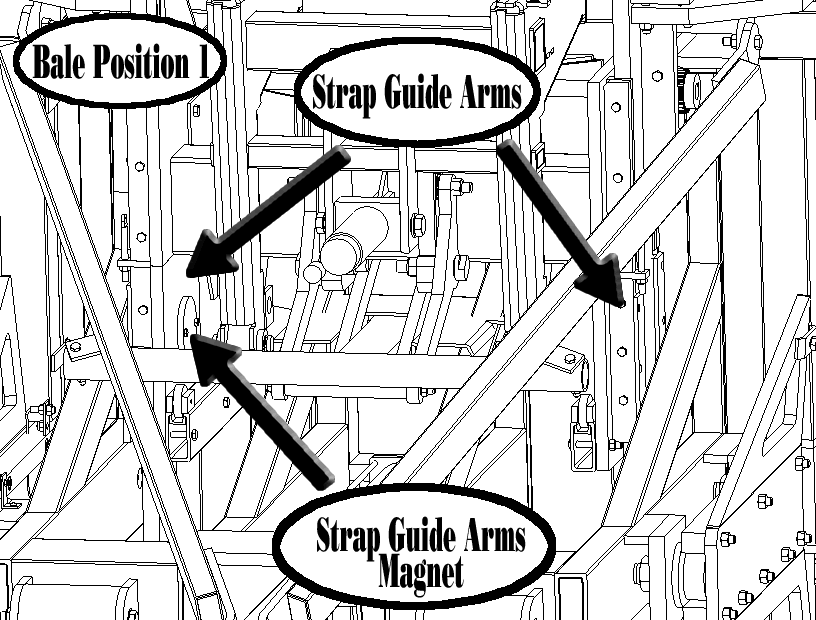
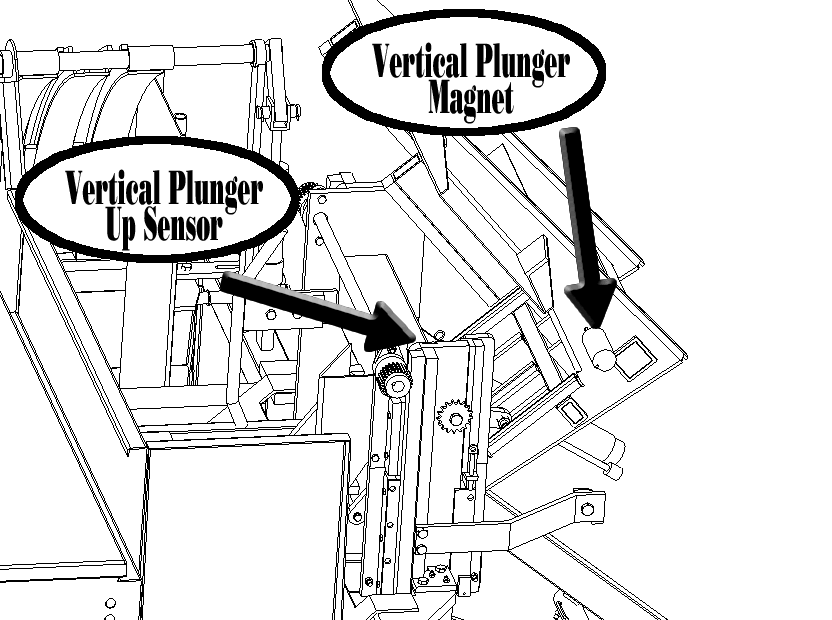
– Disengage hydraulic power and place a magnet (South Pole only) in front of the Bale Position 2 sensor bar switch for 2 seconds and check to see if tractor display has changed. This switch within the sensor bar is located approximately 23 inches (584 mm) down from the bottom of the Vertical Plunger plate and will be marked with a blue colored pen. Since the Strap Guide Arms are currently on the floor, after the next bales is placed into the machine error code 015 may be displayed because the Strap Guide Arms are not in the correct position to activate the corresponding sensor bar switches. When error code 015 appears follow the instructions for that specific error.
If the Strap Guide Arms are not on the floor,
– Check that the tension applied by the Strap Crimper Roller is not too great. If the strapping is too thick or foreign material is located in the Strap Crimper Roller it will cause excessive strap tension. If the tension is too great it will stall the Strap Guide Motor.
– Check that the strapping is not caught or kinked preventing it from flowing easily.
– Check that hydraulic power is still on to the machine and that return line is still connected.
– Check that a bale or foreign object is not preventing the Strap Guide Motor from moving.
– Check that the directional valve is not stuck.